US$99 OR MORE

Wet felting is a process of turning wool into fabric without any need for spinning and weaving. Simply combine a few layers of fibers and voila! Warm water and soap serves to facilitate this process.
It’s both a handcraft and an art. A truly magical experience! And, very addictive! At the touch of your skilled hands, watch a heap of wool gradually start taking shape. Hard to imagine that some loose fibers, can transform into a stylish bag, a flower, or even a hat, in an hour or two. Once you’ve felted your first item, be it a purse, a scarf or a coaster, you’ll find it impossible to stop!

Wet felting is a source of inspiration for many professional fashion designers. Multitude of people throughout the world are obsessed with this hobby.
So how on Earth does wool turn into felt?
Exactly the same way as a wool article shrinks when you wash it in hot water: there are tiny, invisible scales, which cover each wool fiber like roof shingles, that open when the wool is pressed, moisturized or warmed, and then lock together and get entangled. Once this happens, you cannot restore the original look and size of your favorite pullover (what a nuisance)! When felting, you take advantage of this otherwise annoying property of wool. In wet felting, you use warm water and soap to help the fibers bond, unlike needle felting, where your main tool is a special needle (or a set of them).
Ready for the next step? Let’s set you up with the right tools and materials for wet felting.
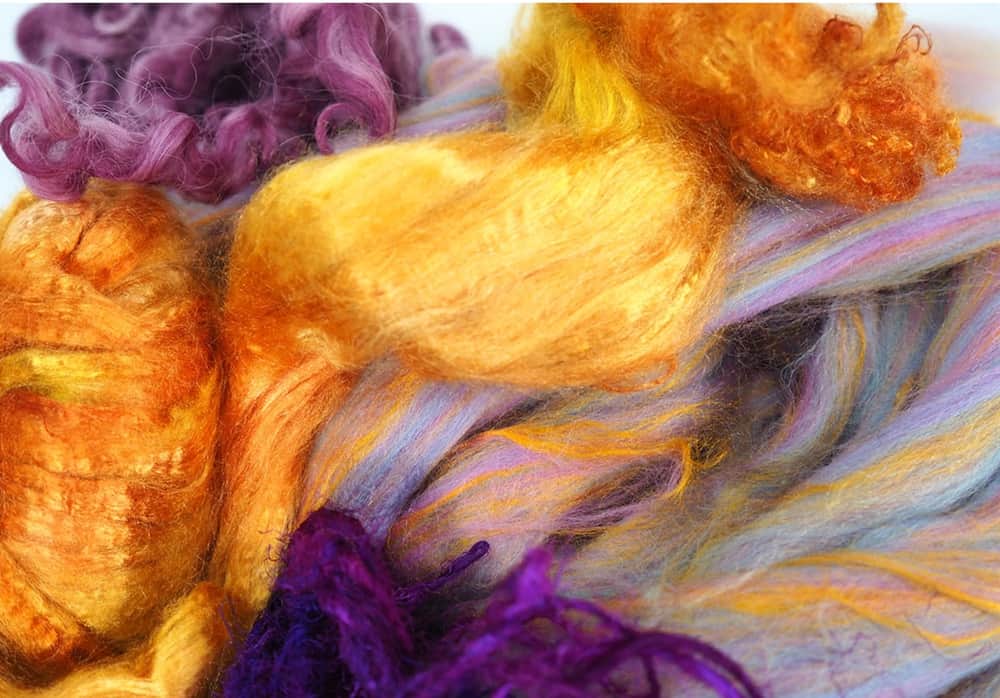
● Unspun wool, as the base material. Depending on the project, it may be Corriedale or Merino wool roving (or other type wool roving), sliver, carded wool, prefelt or even raw sheep or alpaca fleece.
● Optionally - decorative fibers: silk, viscose, cotton etc that make the article look more artistic.
● Warm water and good quality soap (take care of your hands, use gloves!)
● A piece of bubble wrap or a bamboo mat.
● A piece of synthetic tulle or tutu net, larger than the size of your project.
● Optionally (and depending on a project) – a wooden massager or rolling tube (foam pool noodles or a PVC pipe);
● For 3D projects – Something you can cut out templates from (thick plastic film) - called “resist”.
● A water sprayer.


How to wet felt?
Although, the technique is not impossible to master (but be patient!), you are better off attending a live workshop or at least watching a video before you start. The main steps are as follows (just for you to get a general idea - this not a detailed workshop):
1. Lay out a few layers of wool evenly on a bubble wrap or bamboo mat. The exact number of layers depends on the project – the more layers, the denser the texture. You can add any design elements to the top layer.
2. Cover the wool with tutu net.
3. Spray with warm water and apply soap on the net without disturbing the wool.
4. Carefully and gently start rubbing wool through the net in circular motions applying light pressure (3-5min). This will begin the felting process.
5. Carefully remove the net.
6. Keep gently rubbing in circular motions without the net. After a while (10-15min) you’ll feel the wool shrinking and texture beginning to change.
7. Now you can knead the wool like dough, roll it between your palms etc.
8. The article is nearly ready. Wash it in running water, alternating between warm and cold water in order to facilitate shrinking.
9. Dry the item and carefully iron it, if necessary.

Remember these are not detailed instructions, just a general idea. For more details, please browse the Internet for samples of videos, e-books and learning materials.
Find everything you need for wet felting in our store, and don’t forget to have fun!
Be creative!